"Uncle Phil" (Paul's brother) came to visit this past weekend. While he was here we took great advantage of his years of experience as an RV-er. Phil started out with a Class C like ours, years ago, but ended up with a Class A that was in the neighborhood of 38' long, so he's had lots of practice with RVs.
The first thing Phil and Paul had to do was empty the hot water heater and install a by-pass valve. We aren't sure why, but the previous owner never installed one. Perhaps he just filled the hot water heater (HWH) with 6 gallons of antifreeze. Getting at the HWH was a chore. It's only accessible by taking apart the bed in the back end of the RV....Literally unscrewing the plywood sheathing that makes the floor of the bed. From what we've read, installing a by-pass valve is often a hassle, and as you can see, this one turned out to be, too.
The guys drained the potable water tank and all the faucets. (Paul drained the black water [sewer] and gray water [water from the sink, etc.] tanks last weekend at the campground which is one of the reasons we wanted to go camping at someplace that had a dump station.)
After all of that was done, it was time to blow out the lines with a compressor, and then fill the lines with non-toxic antifreeze made especially for RVs. At $4 a gallon, it's not particularly expensive. Instead of purchasing a pump to get the antifreeze into the system, Paul just used an old piece of hose and a funnel.
The final thing was to turn on the water pump and run each faucet until we saw pink antifreeze run out. One final step was to release the pressure on the back flow valve for the potable water connection on the exterior. Phil demonstrated how 'not' to do it! Don't stare at the valve or you'll get a good shot of pressurized antifreeze in the face!
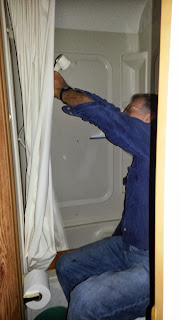 |
| Antifreeze through the shower head. |
That was the end of the 'water' winterizing. Paul took out both new deep cell batteries (from under the bed, also) and put them in the basement of our house ready for a trickle charger as soon we buy one.
Jan went through Bella and took out anything with batteries in it -- mostly flashlights and push-button LED lights. If they sit in the freezing cold all winter, they won't be any good. We also took out bedding, pillows, etc. that mice might like for nesting.
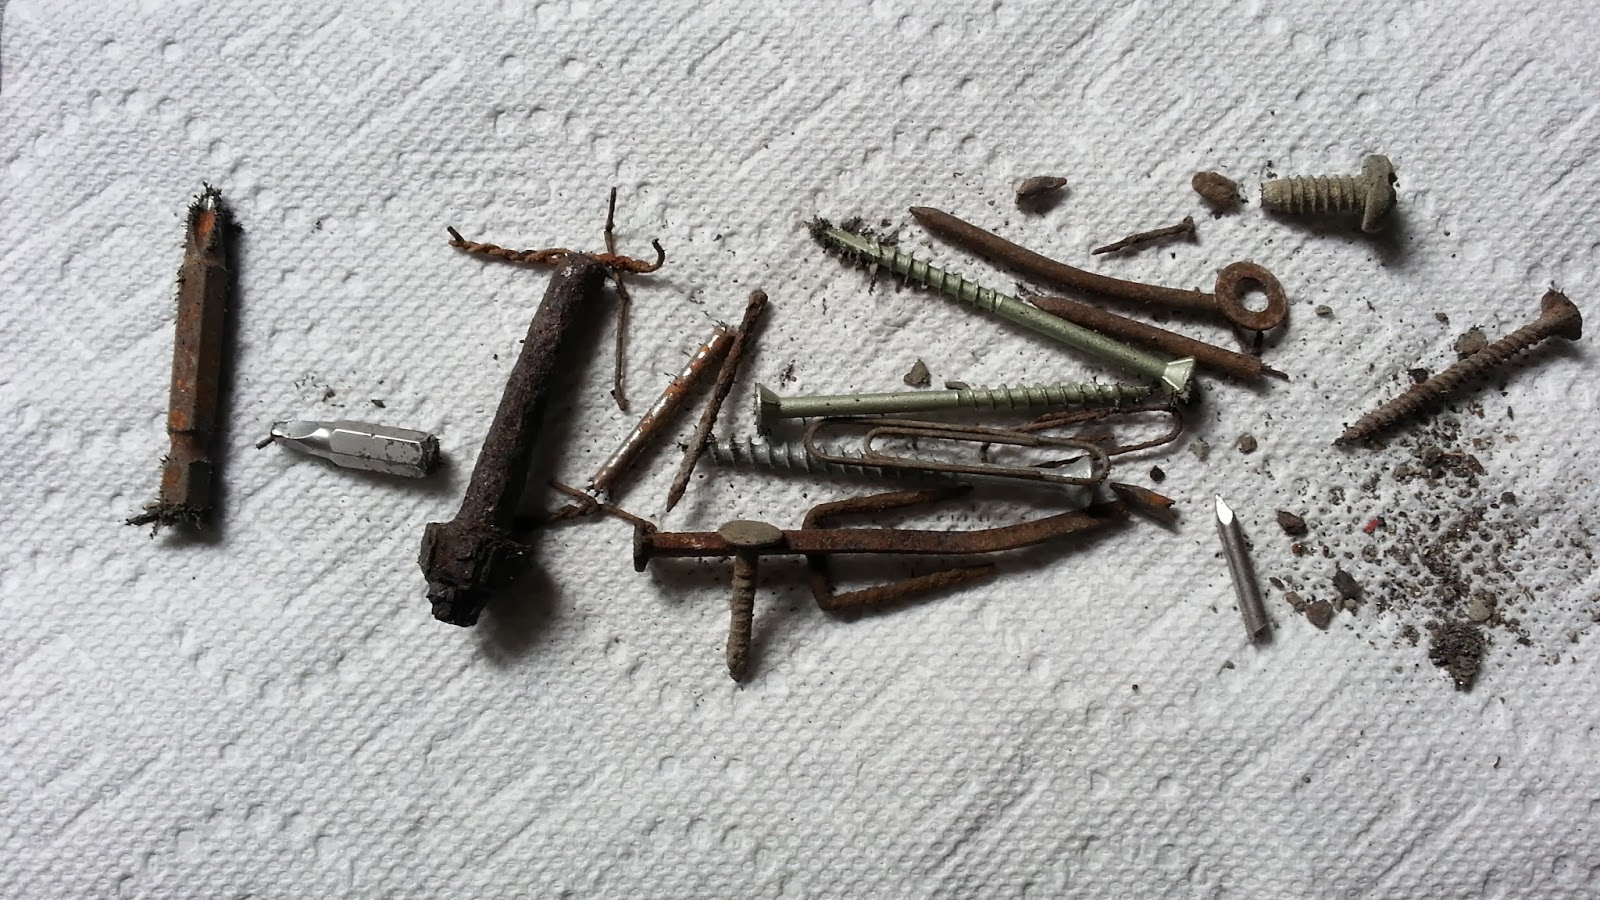
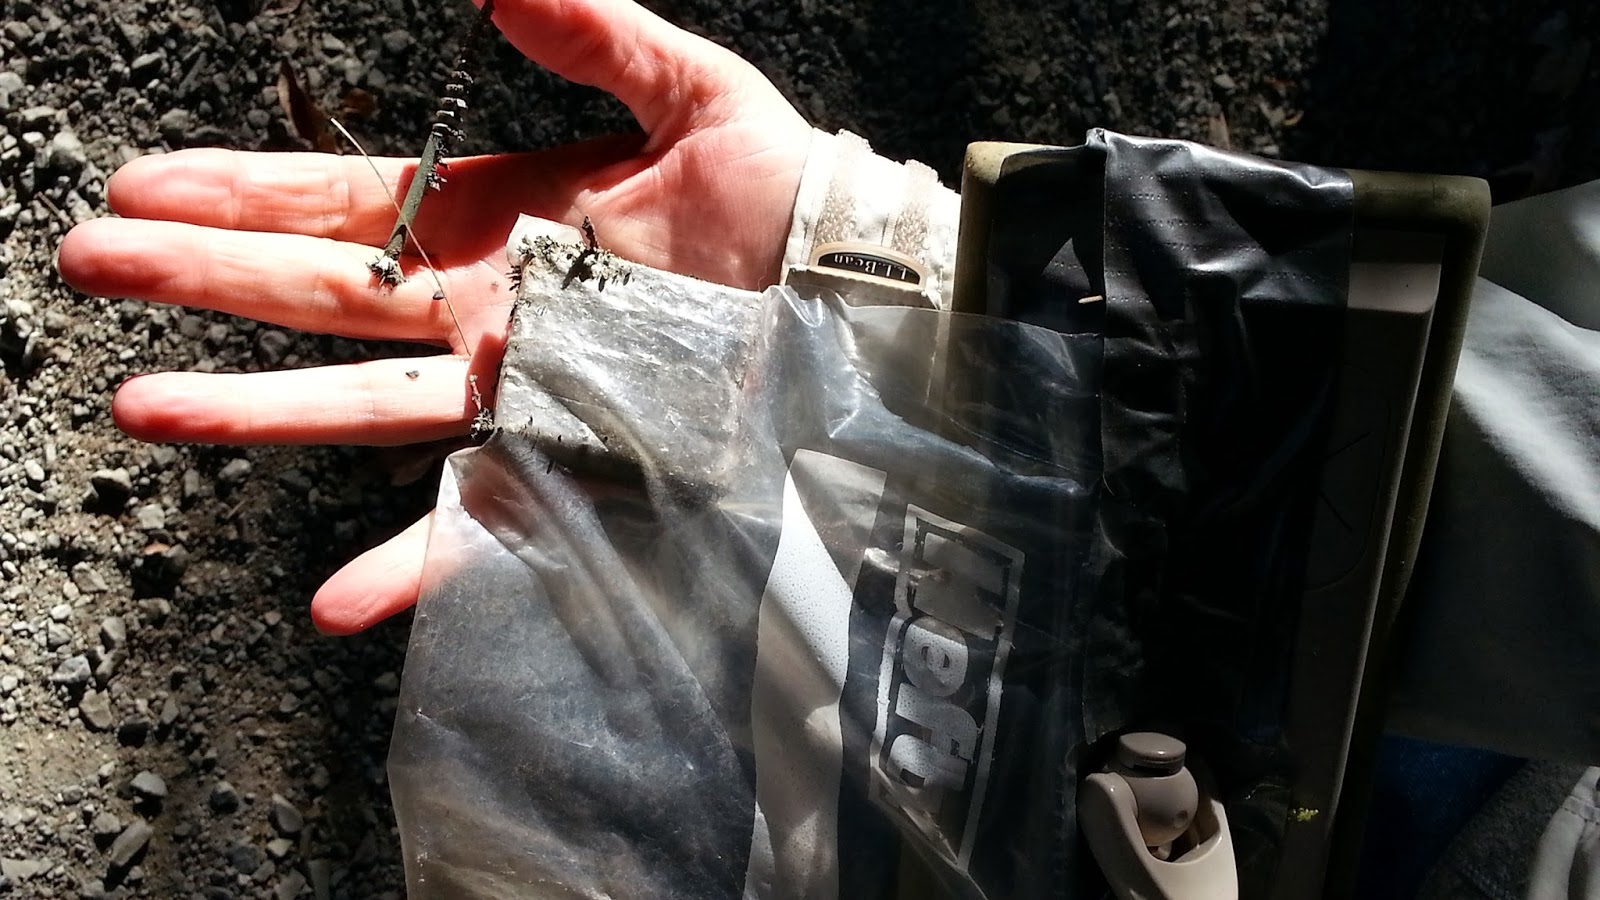
We still need to install covers over all of the outside vents so little critters don't get inside. Jan found one hole under the bed; it went right through the floor boards to the outside. It seems like it was a drain for an older water heater which has since been replaced. It would have been an easy place for mice to get in, so she plugged it with a wine cork. Hey, whatever works!
There! Bella is almost ready for winter! Many thanks to Phil for all of the advice and help; it was great to have an experienced hand helping us!